Install Vino VNC on Ubuntu 18.04
1) ติดตั้ง vino ****ใช้ user desktop ในการติดตั้งเท่านั้น ไม่งั้น vino จะไม่ทำงาน *****
sudo apt install vino
2) Config port Default 5900 and set security
dbus-launch gsettings set org.gnome.Vino alternative-port 5900
dbus-launch gsettings set org.gnome.Vino use-alternative-port true
3) ตั้ง autostart
nano /home/userdesktop/.config/autostart/vino-server.desktop
[Desktop Entry]
Type=Application
Name=Vino VNC server
Exec=/usr/lib/vino/vino-server
NoDisplay=true
sudo chown userdesktop:userdesktop vino-server.desktop
gsettings set org.gnome.Vino require-encryption false
gsettings list-recursively org.gnome.Vino | grep encrypt
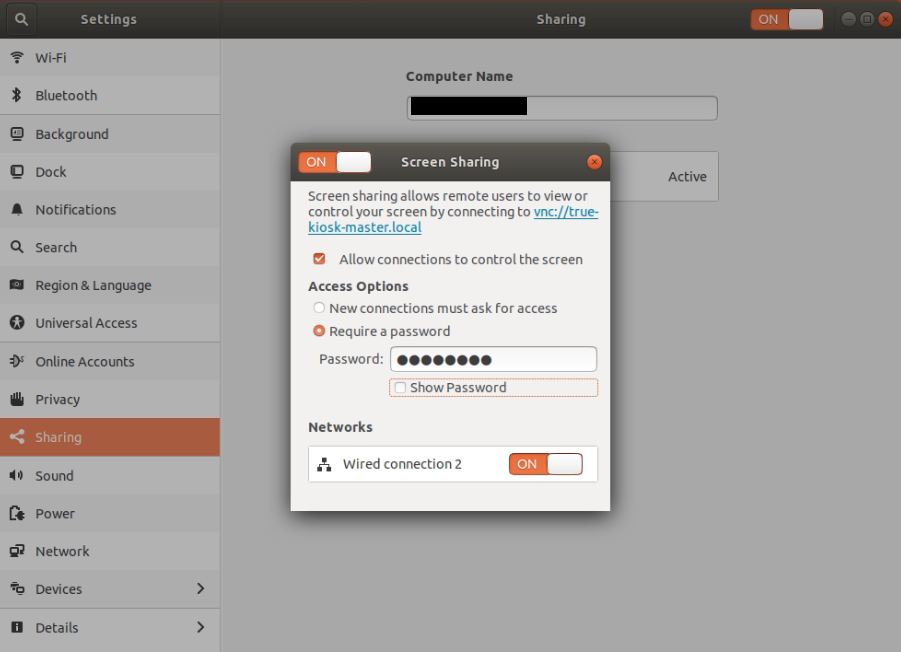
4) enable share screen and set password
ไปที่ setting > sharing
5) สั่ง reboot
ทดสอบโดย
โหลดโปรแกรม VNC Viewer

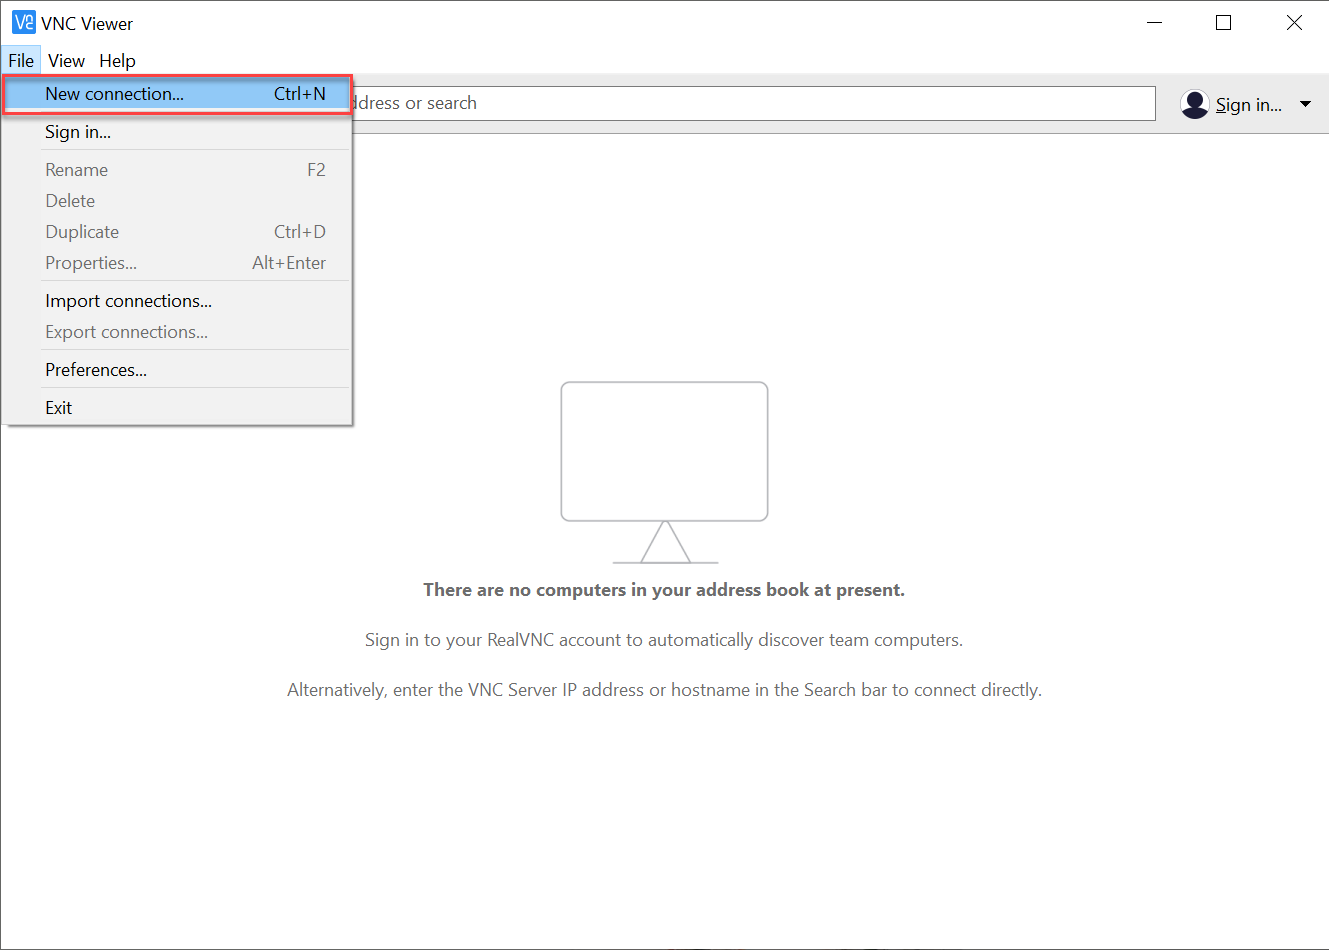
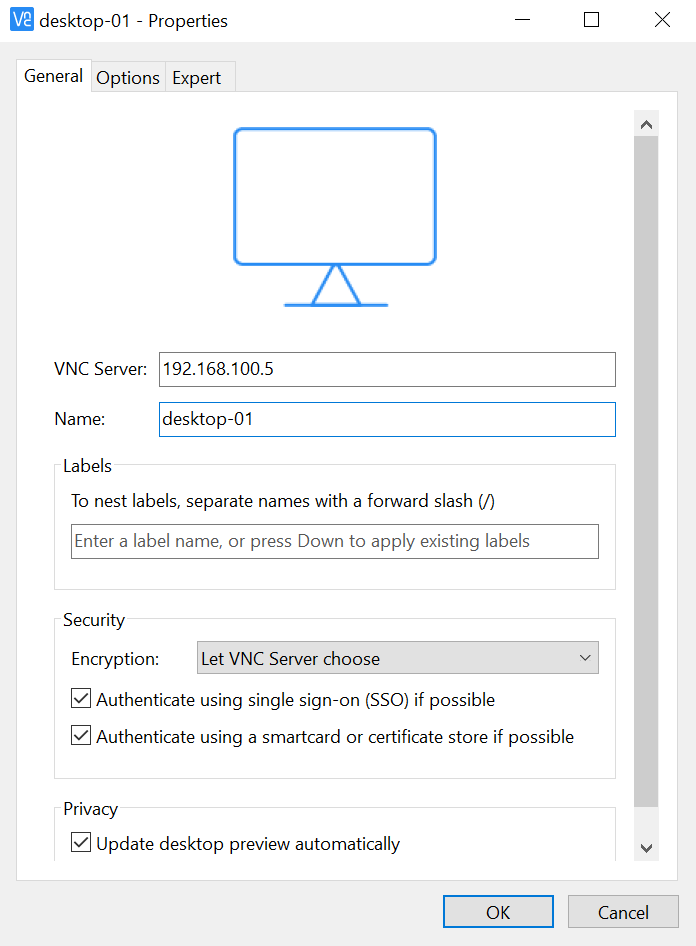
VNC Serve ใส่ IP เครื่องที่ต้องการ remote
Name ชื่อเครื่อง VNC
เสร็จแล้วกด OK
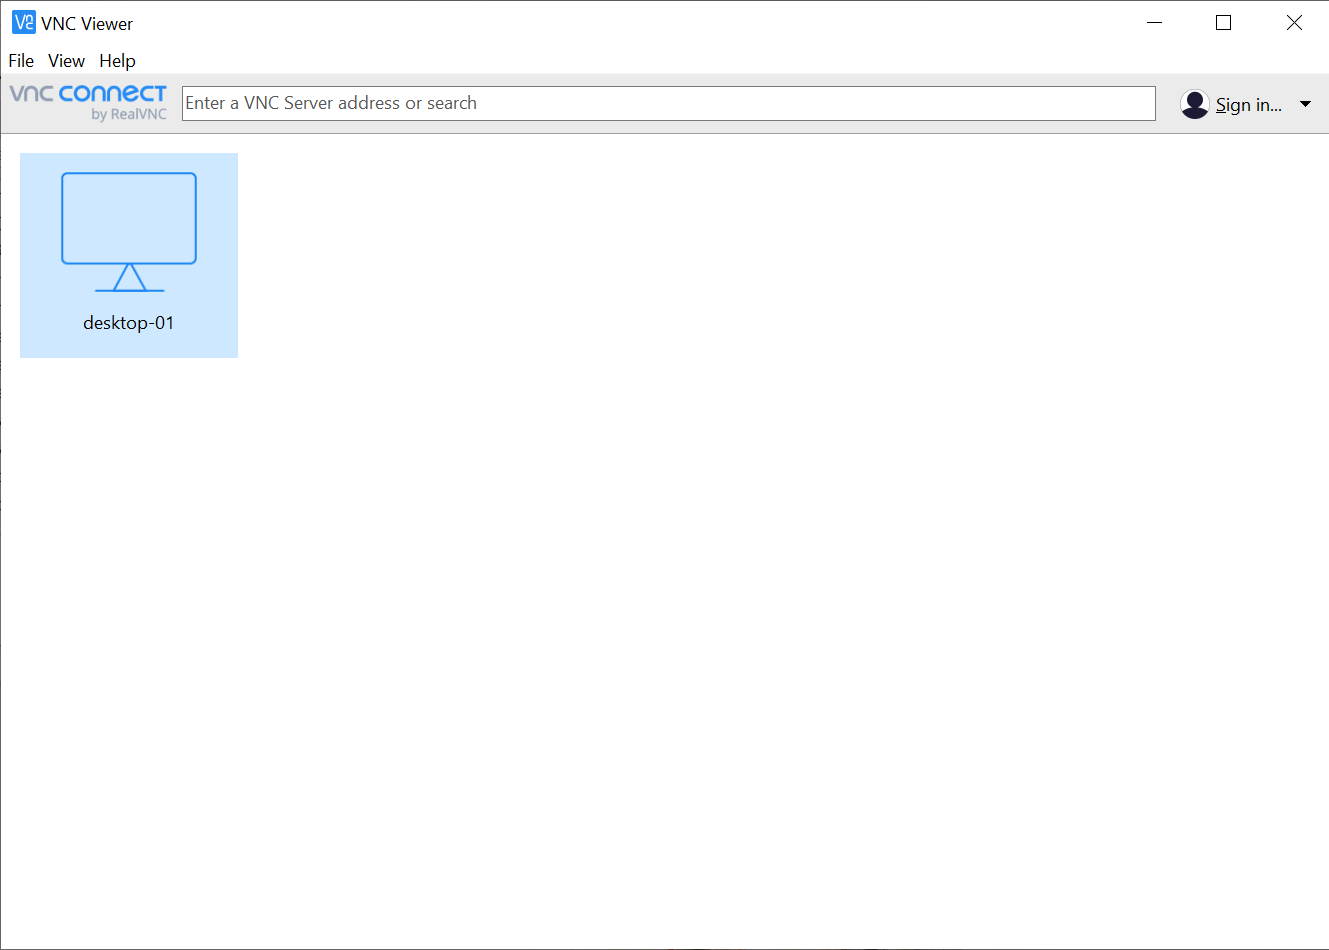
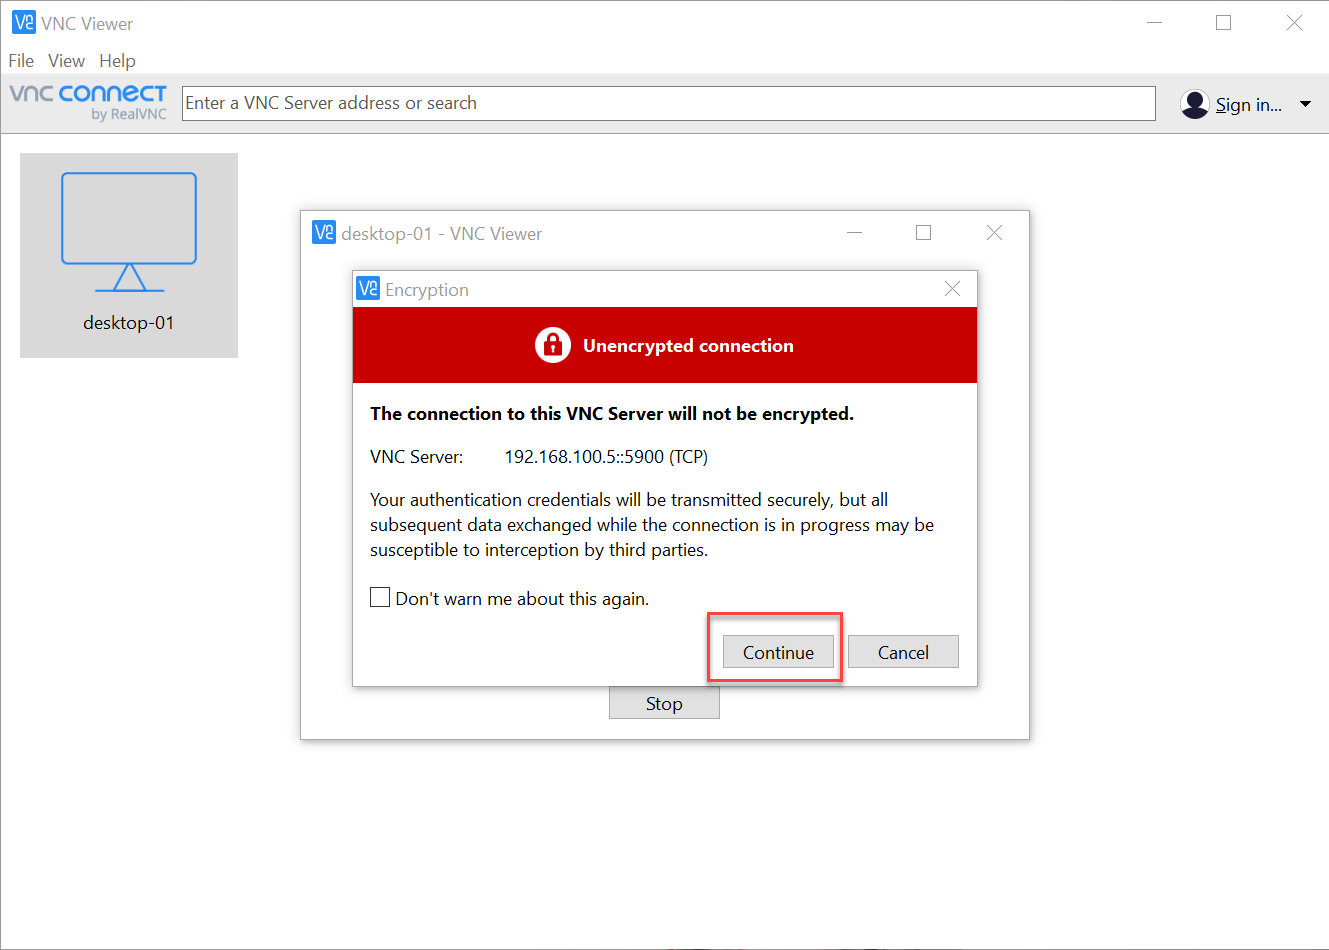
คลิกที่รูปเครื่องเพื่อเข้าใช้งาน