How to patch vCenter Appliance

**ในระหว่างการอัพเดท patch จะไม่สามารถใช้ service vCenter ได้ สามารถใช้ได้เฉพาะ vsphere หรือ esxi เท่านั้น จนกว่าจะอัพเดทเสร็จสิ้น
1) โหลดไฟล์ iso patch update vCenter จากเว็บ vmware และโยนไฟล์เข้า datastore เพื่อเอาไปใช้ mount
ลิงค์สำหรับโหลด patch update
Login | VMware Customer Connect
Customer portal login for VMware products including knowledge base, docs, communities, support, and training.

1.1 เปิด ssh เครื่อง esxi
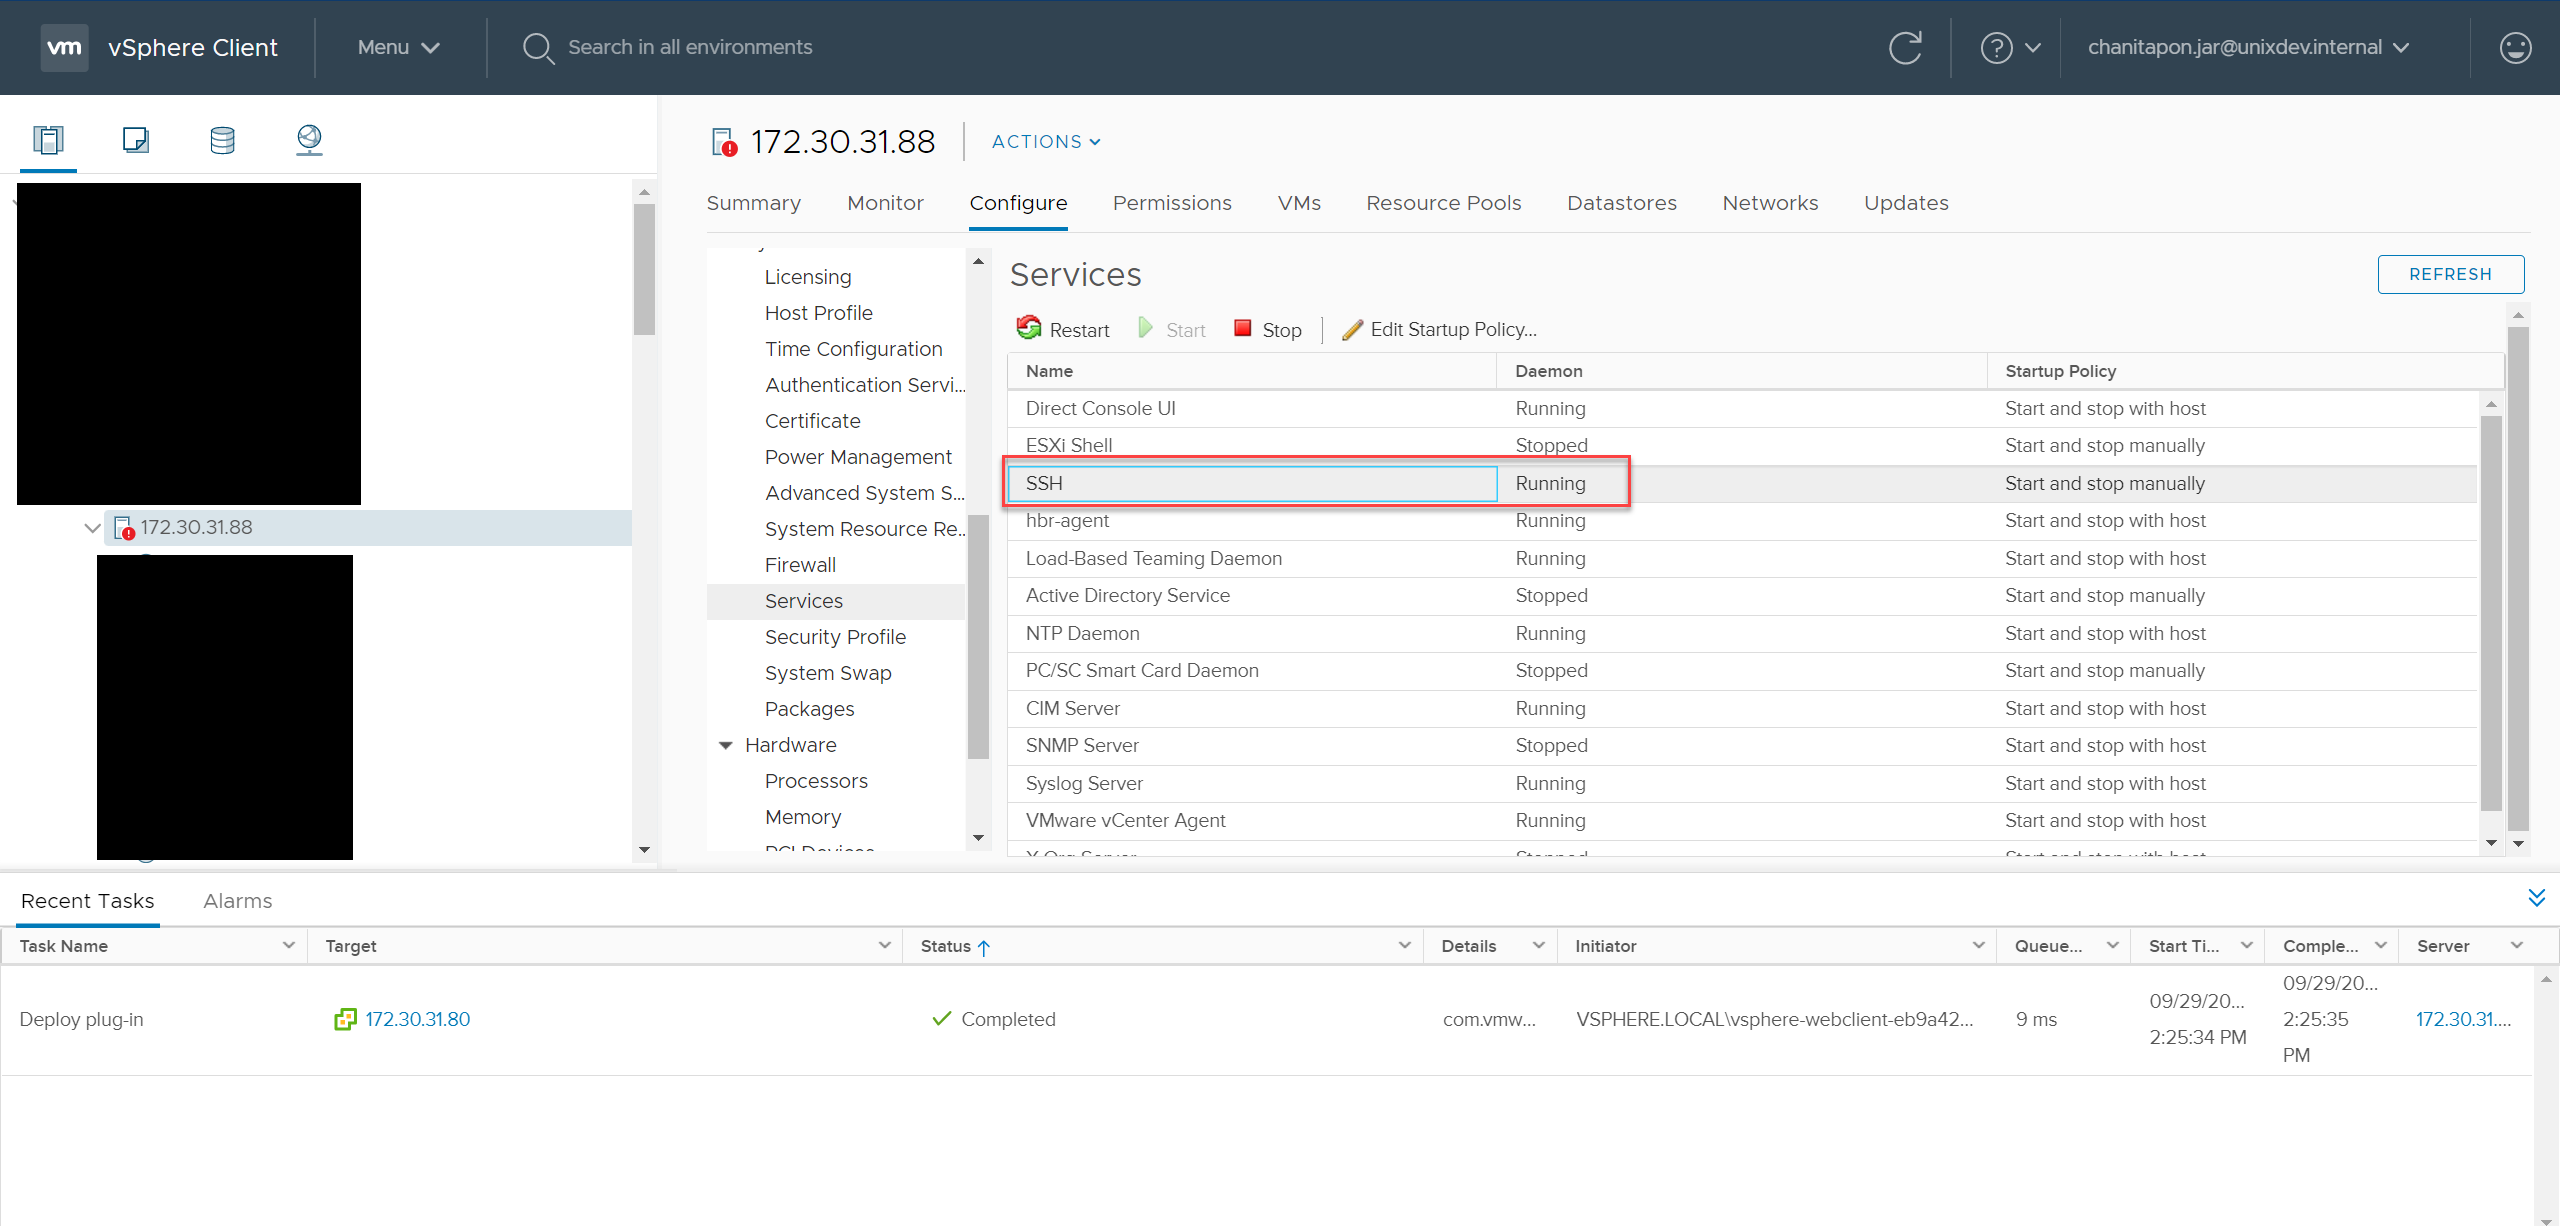
1.2 โยนไฟล์ iso patch update ไปที่ datastore
/vmfs/volumes/datastore
2) mount iso ไปที่ virtual machine ที่ติดตั้ง vCenter ไว้
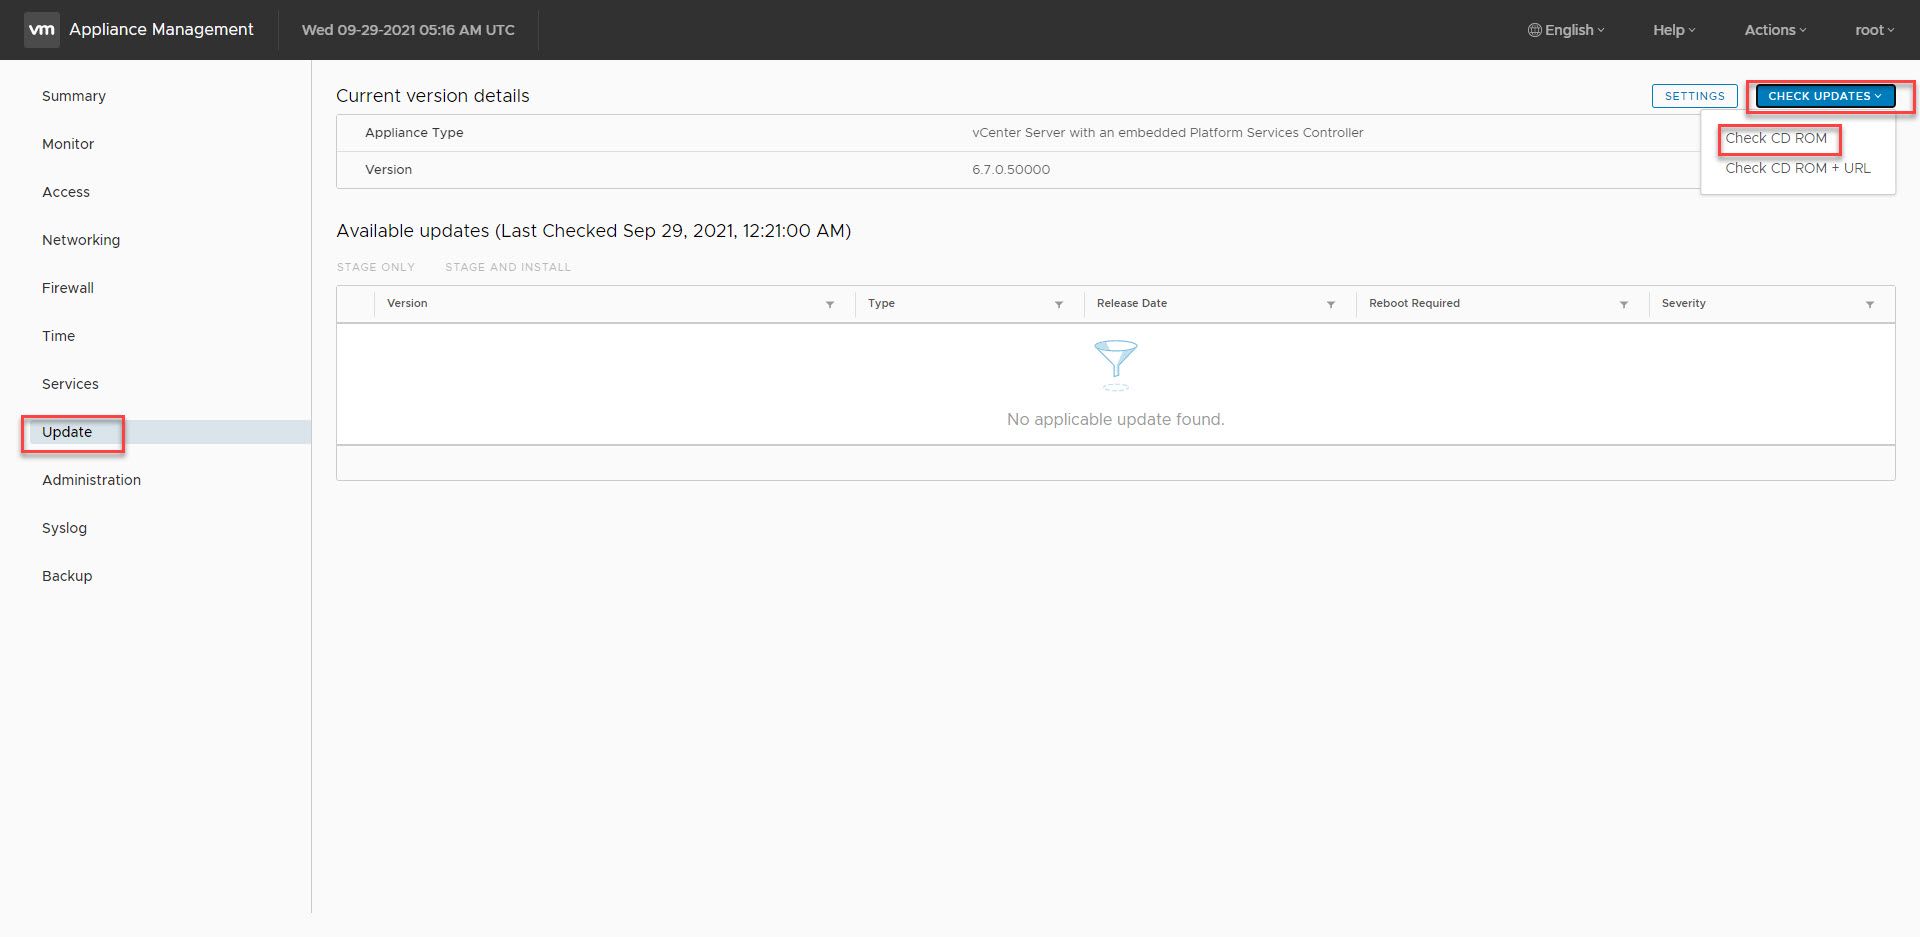
3) เข้าหน้า VMware Appliance Management
https://ip-or-doamin-of-vcenter:5480

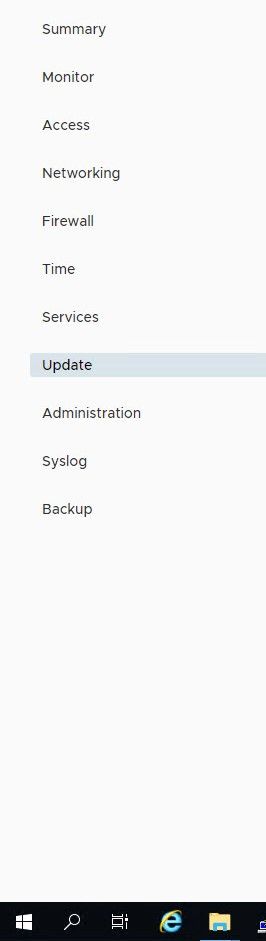
4) ทางแถบด้านซ้ายเลือก update
5) ทางด้านขวาบน กด Check updates แล้วเลือก Check CD ROM
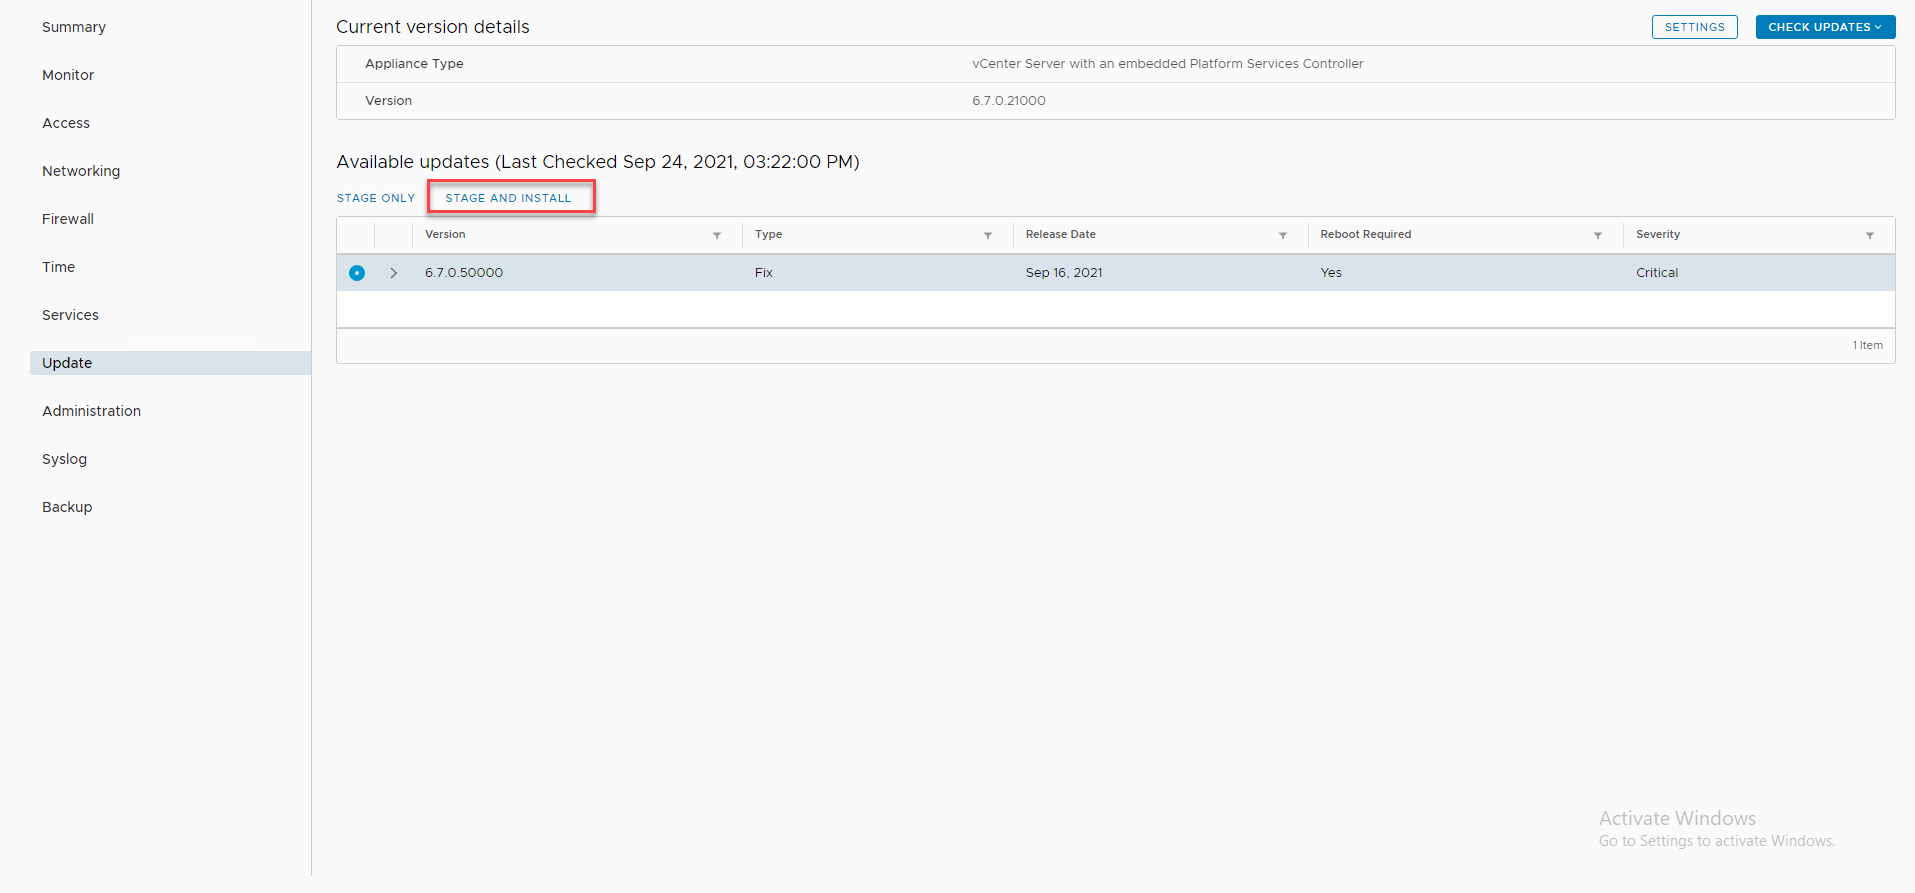
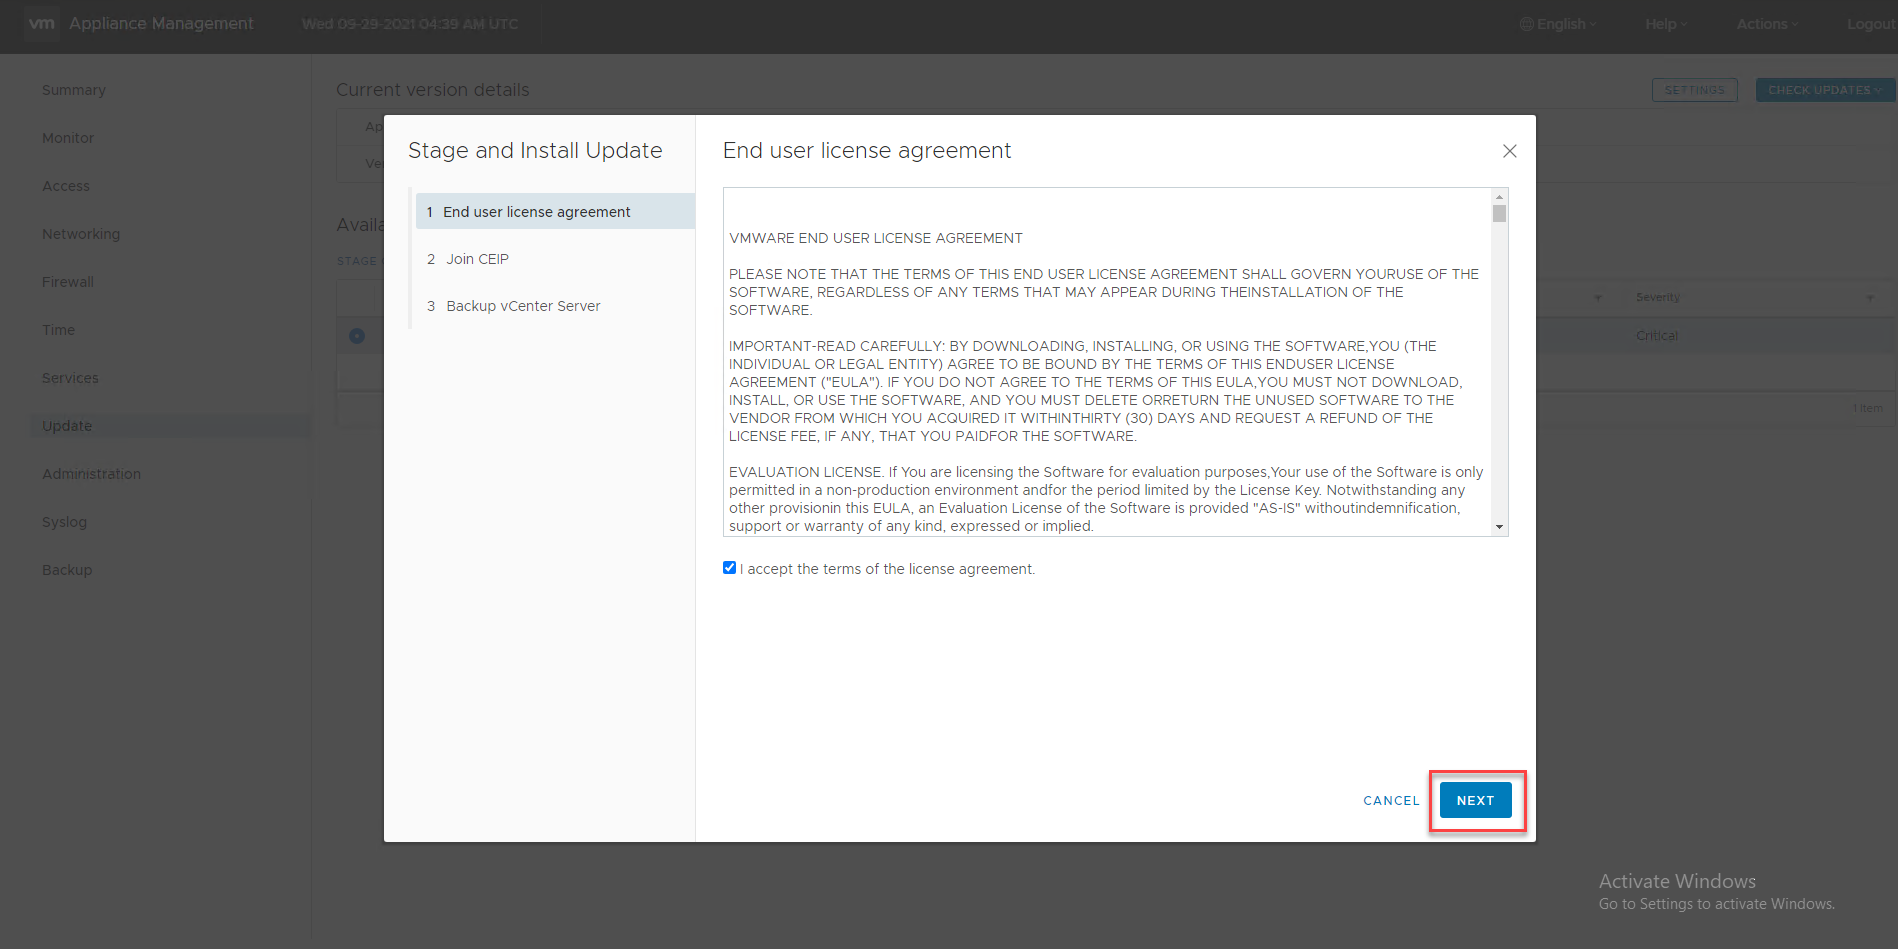
6) เสร็จแล้วเลือก STAGE AND INSTALL
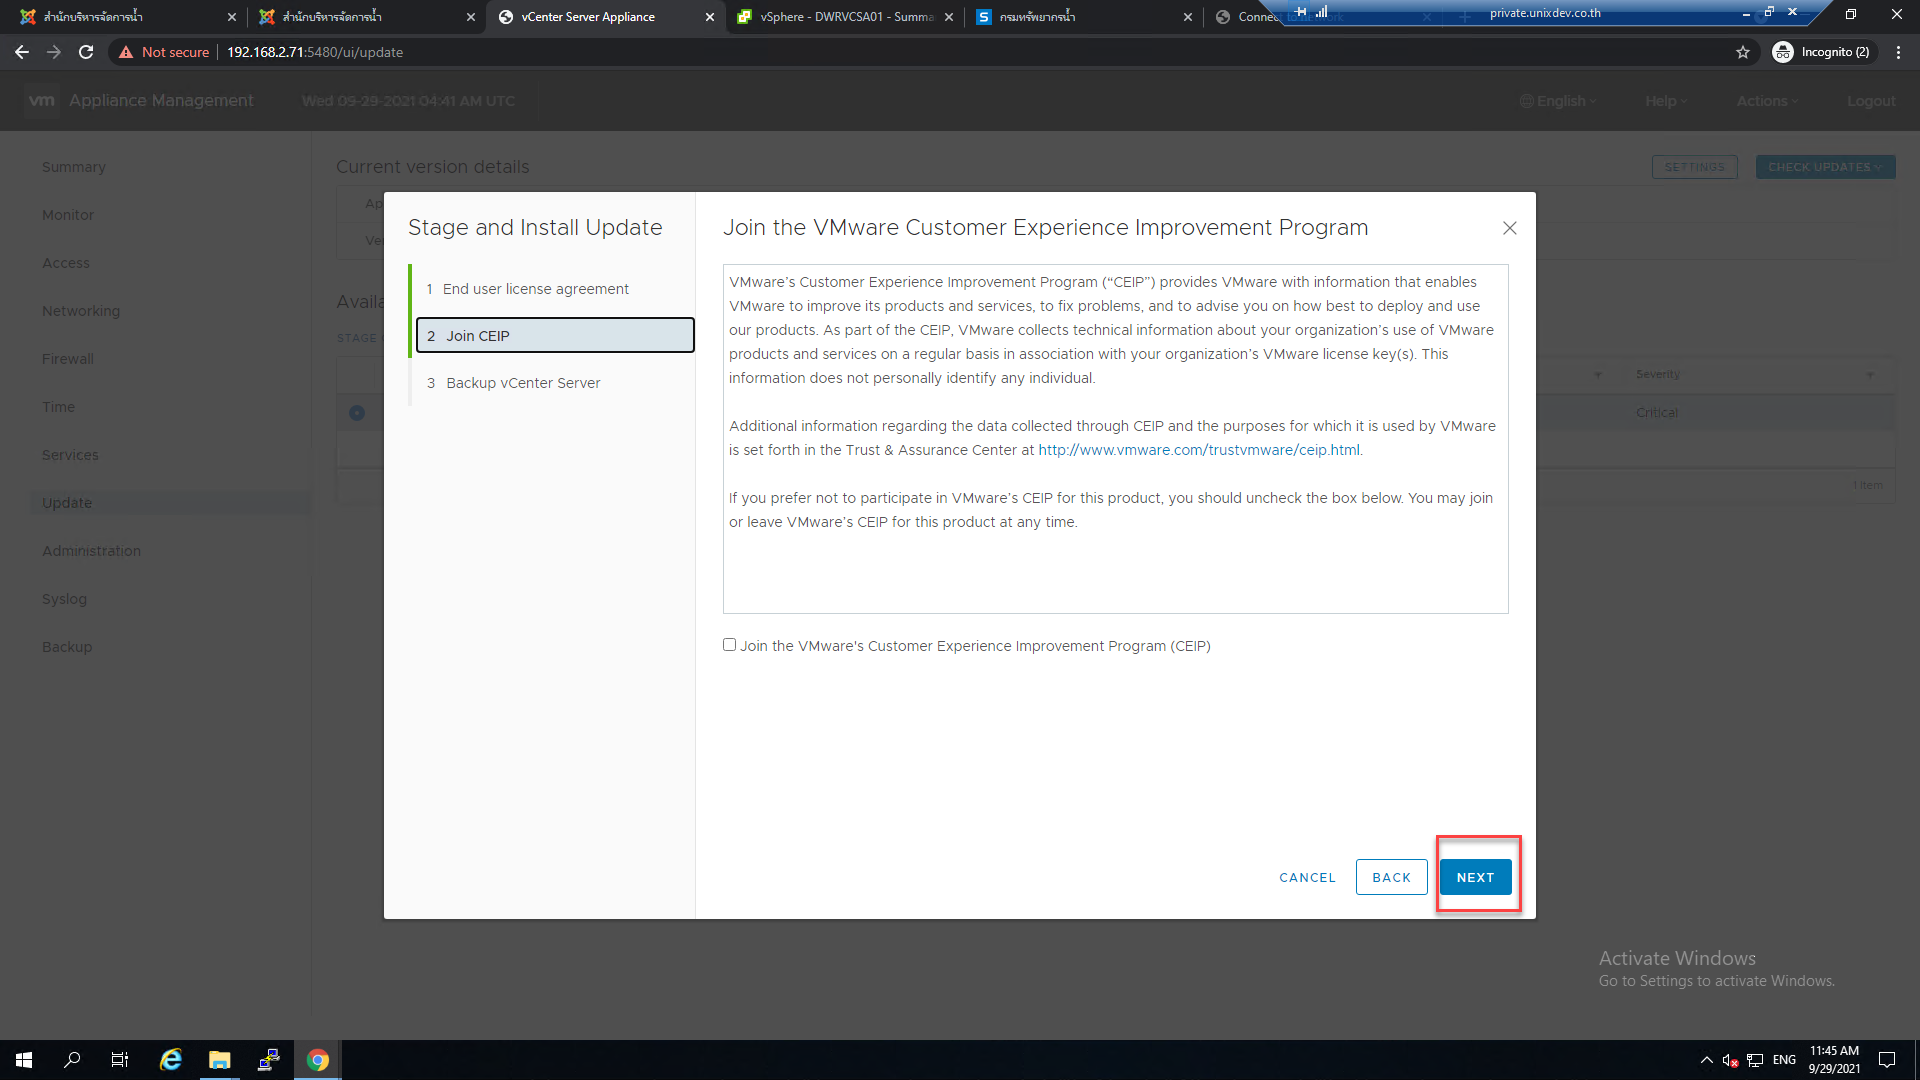
7) จากนั้นทำตามตัวอย่างรูปด้านล่าง
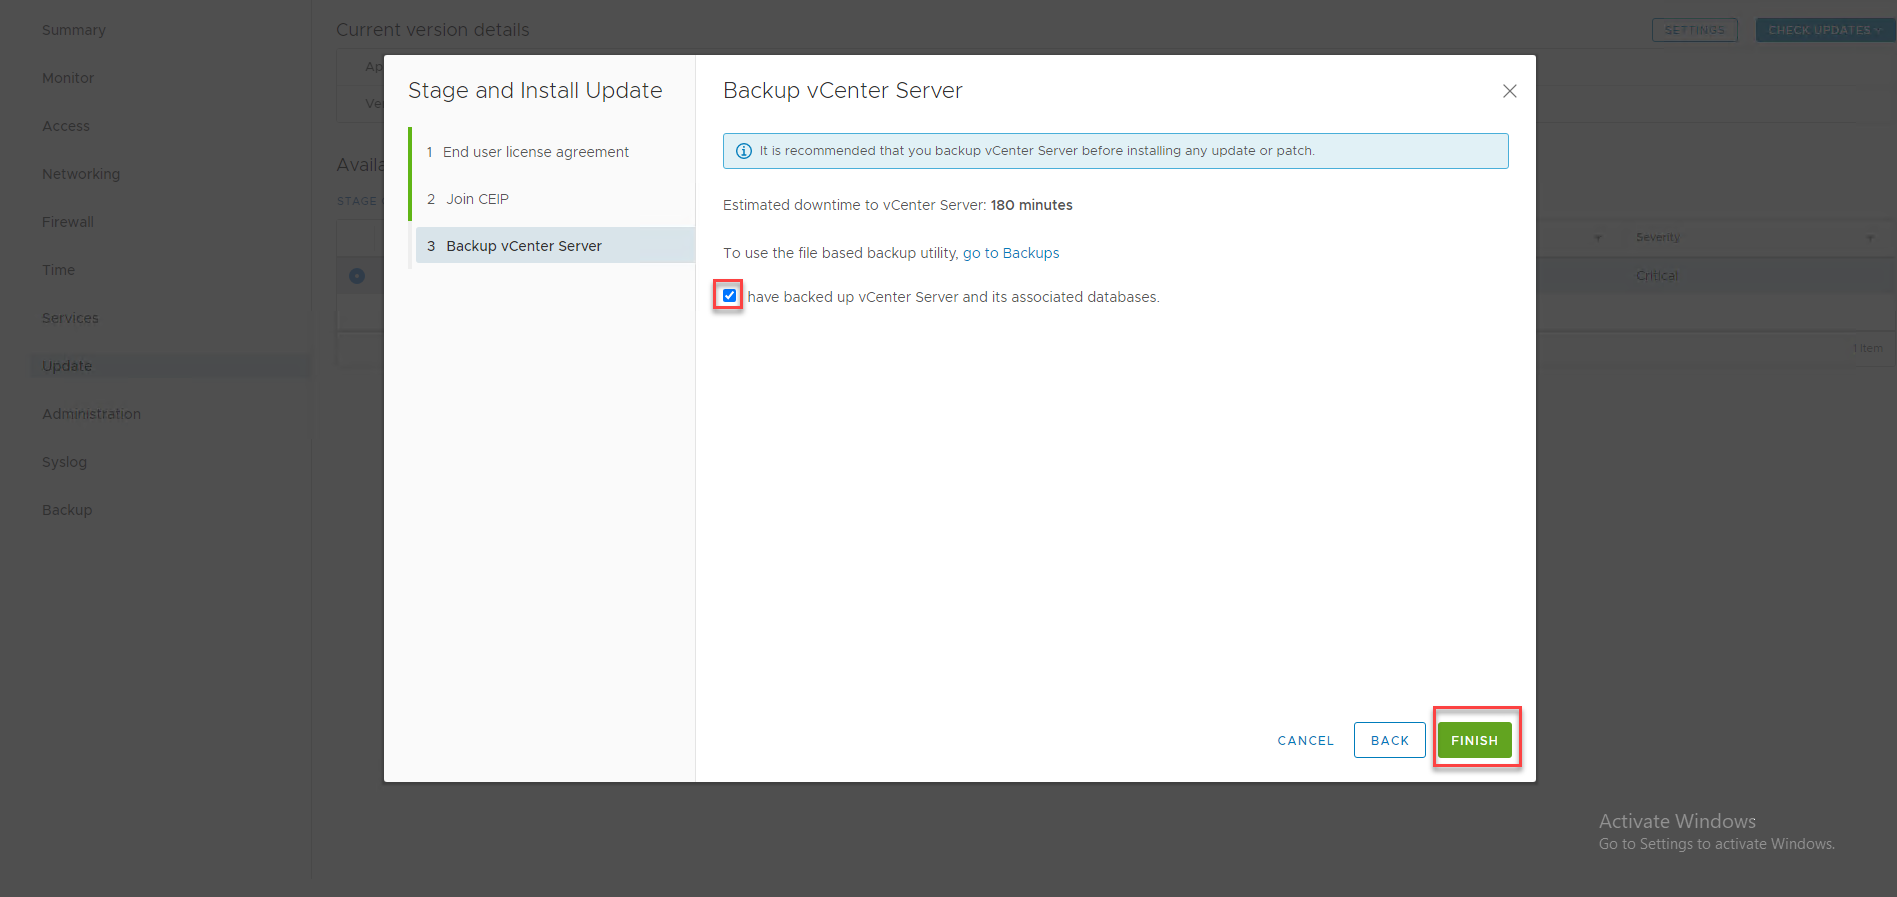
8) จากนั้นรอ install patch update เสร็จก็สามารถใช้ vCenter ได้
