เพิ่ม Master และ Data-Node Elasticsearch
Data-Node ไม่ต้องแก้ไขคอนฟิกโหนดอื่นๆ สั่ง restart แค่ master node
Data-Node โหนดใหม่ไปที่ /etc/elasticsearch/elasticsearch.yml
node.name: data-node-name
node.data: true
node.master: false
node.ingest: false
network.host: ip-data-node
discovery.seed_hosts: ["ip-master01", "ip-master02","ip-master03"]
cluster.initial_master_nodes: ["ip-master01", "ip-master02", "ip-master03"]

Master-Node ต้องเพิ่ม ip ของ master ตัวใหม่เข้าไปทุกโหนดบน cluster และสั่ง restart ทั้ง cluster
New Master-Node
node.name: master
node.data: false
node.master: true
node.ingest: true
network.host: ip-master-node
discovery.seed_hosts: ["ip-master01", "ip-master02","ip-master03"]
cluster.initial_master_nodes: ["ip-master01", "ip-master02", "ip-master03"]

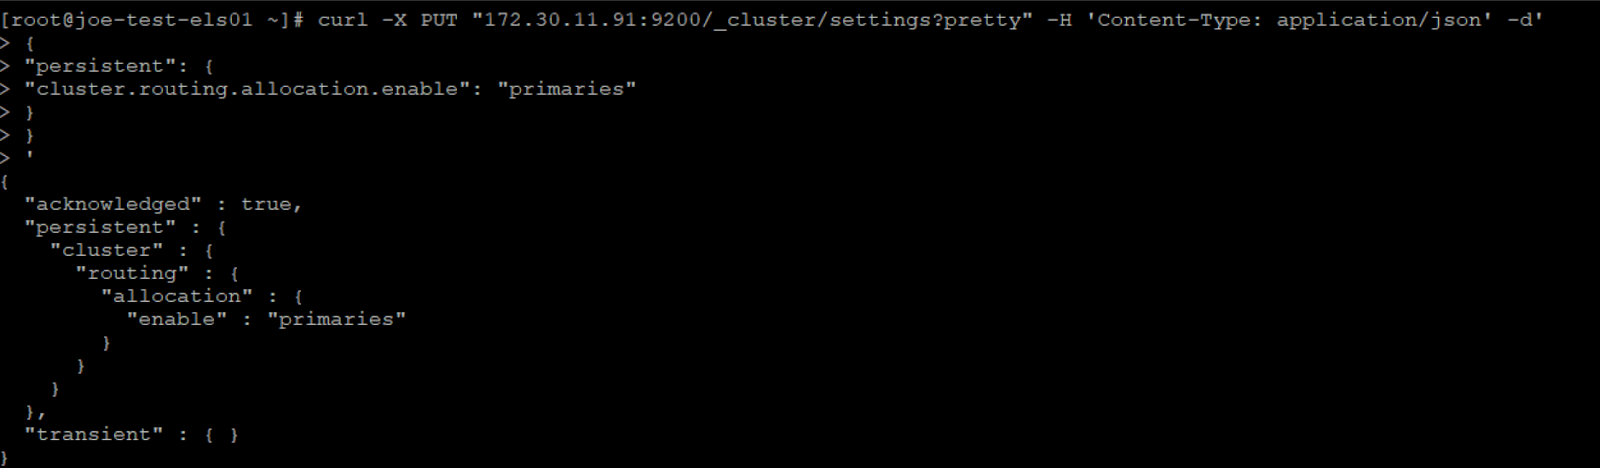
จากนั้นสั่ง restart node โดยใช้วิธีตามลิงค์ด้านล่าง
Check Status Elasticsearch and cluster
curl -XGET http://ip:9200/_cat/nodes?v
curl -X GET "ip:9200/_cluster/health?pretty"